
Basic Usage#
We’re planning a hiking trip around a beautiful lake and using ORSTools in QGIS to help plan the route. The tool lets us customize the trail based on what matters most to us—like including scenic viewpoints, avoiding steep or potentially dangerous areas, or making sure the hike is a smooth round trip. It’s a practical way to use geospatial tools for a real outdoor adventure, making sure the route is both enjoyable and well thought out.
What is the most suitable route for our trip, how can we avoid certain dangerous areas?
Setup the API Key#
Before we can start planning our hiking route, we need to set up the openrouteservice API key in QGIS. This key allows us to access the routing and mapping services provided by openrouteservice to ORSTools.
For instructions on how to setup the key refer to the setup guide.
Basic routing#
To get started, we’ll first create a quick and simple route to get an initial idea of what we’re working with. For this, we can use ORSTools’ main plugin in QGIS without diving into any advanced settings. It’s a fast way to get a rough overview of the possible route and see how it looks on the map before refining it further.
Load a basemap and choose a lake#
We’ll go with Ågelsjön Lake, located near Norrköping, as the setting for our hike. But you can choose whatever lake appeals most to you. For the basemap, we’ll stick with the basic OpenStreetMap layer from the default XYZ tiles in QGIS. This is a good choice, since the openreouteservice’s an thus the ORSTool’s routing is based on OSM data. Using the same map ensures that the generated routes align perfectly with the visible roads and trails, without any noticeable offset.
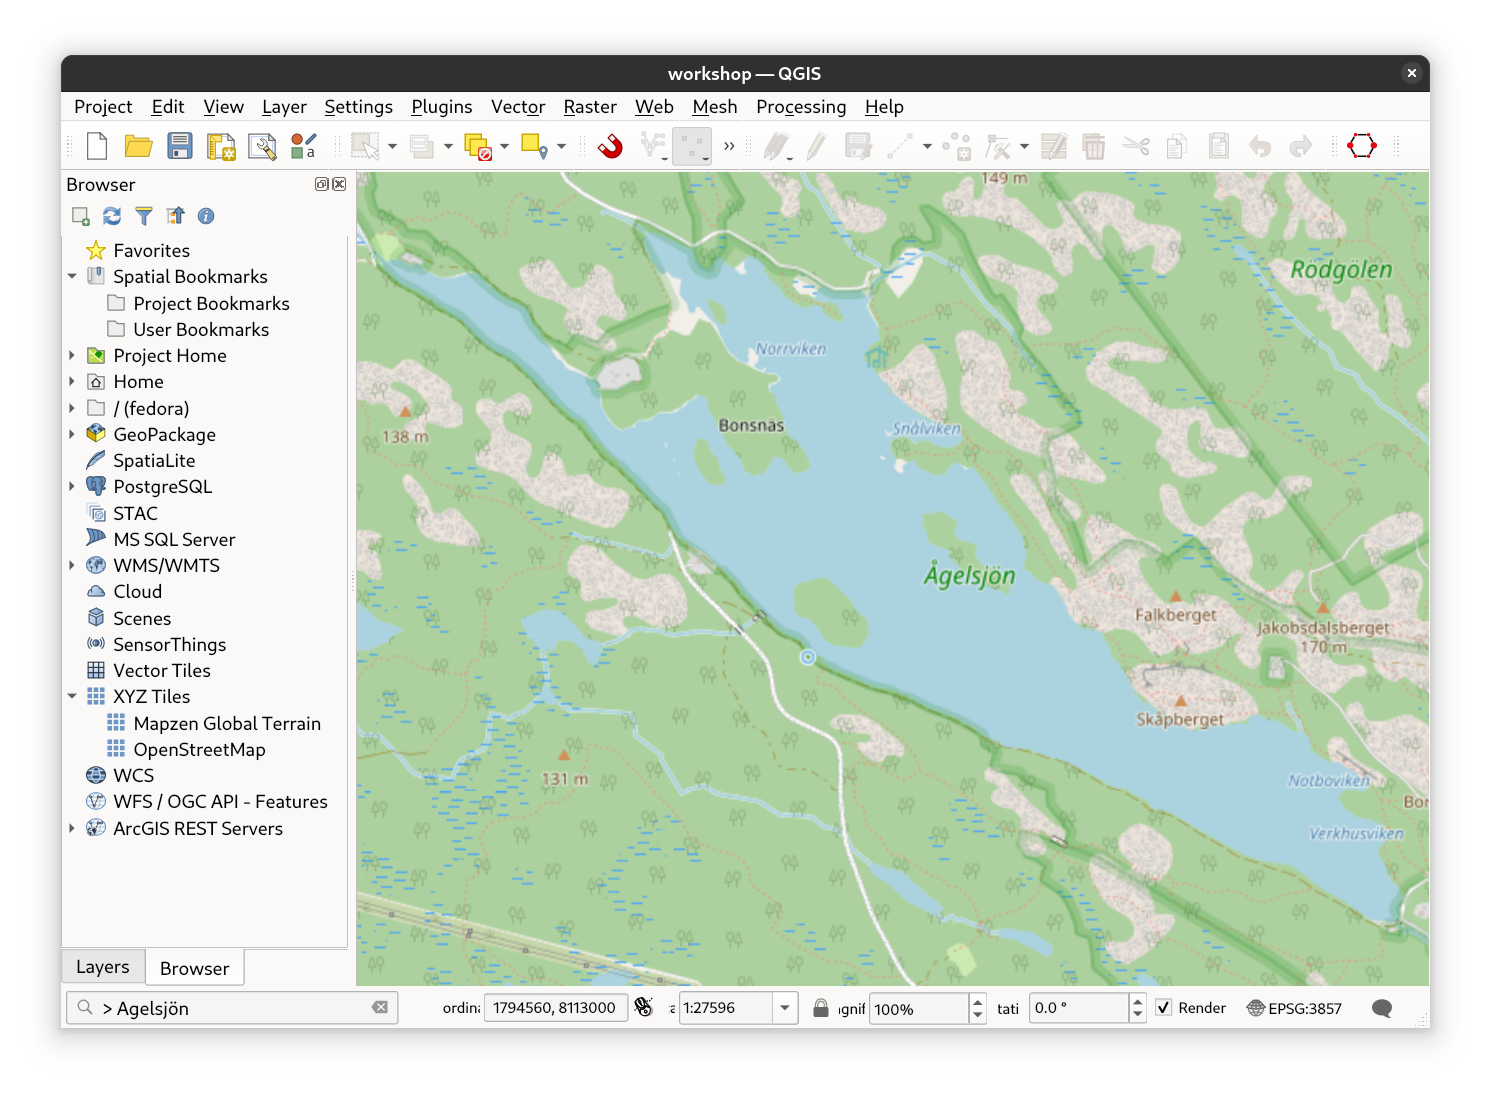
Fig. 6 Add a basemap and choose a lake#
Open the plugin#
Open the ORSTools plugin by clicking the hexagon icon located in the web toolbar at the top of the QGIS interface.
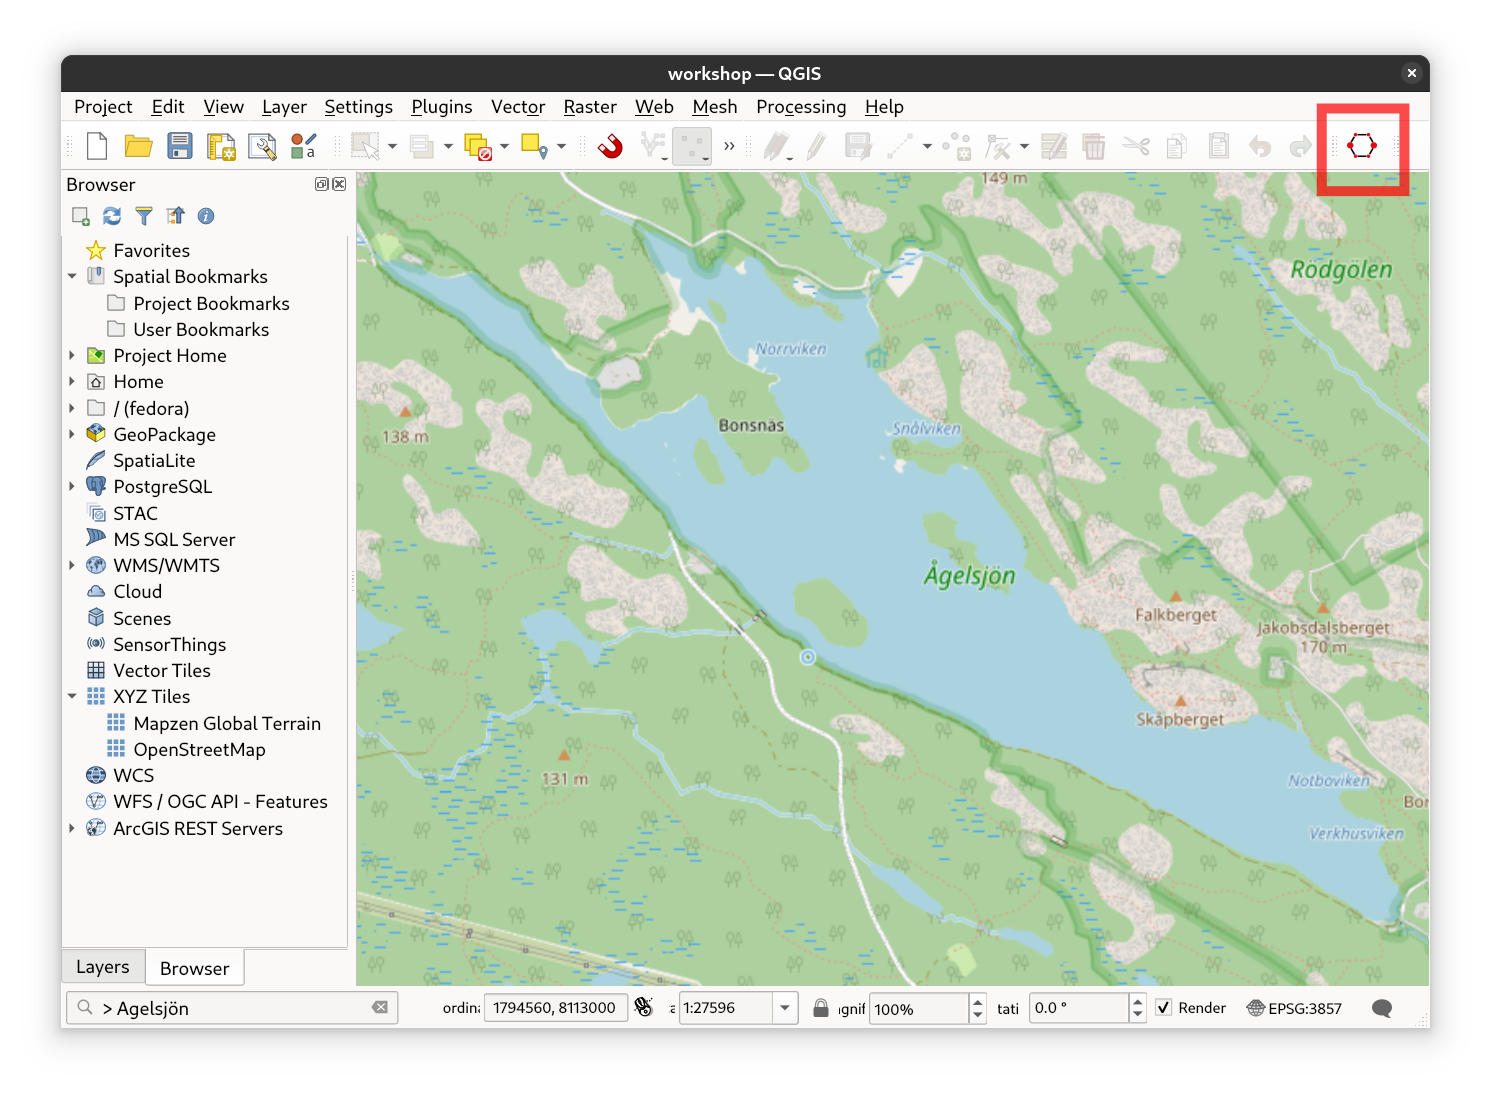
Fig. 7 Where to open the plugin#
Click the “Add waypoints” button#
Click the green button to activate the map tool, then start digitizing points directly on the map to define your hiking route.
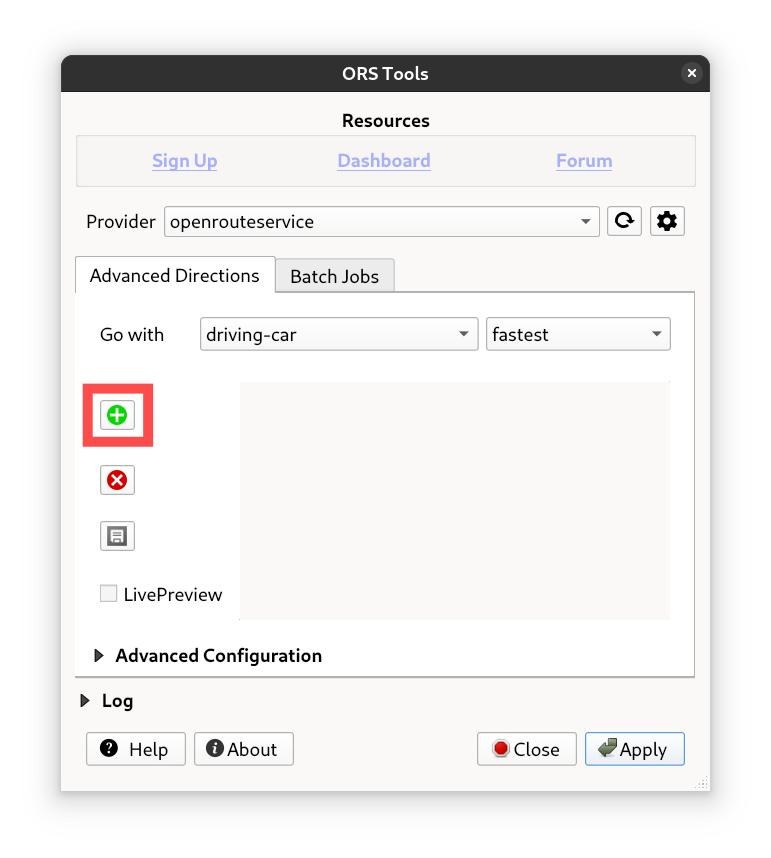
Fig. 8 Activate the “Add Waypoints” tool#
Digitize some points#
Use the left mouse button to add waypoints along your desired route. Once you’re done, you can finish by either right-clicking or double-clicking. After that, the ORSTools plugin window will automatically reappear with your route ready for review. Make sure to only use points within 350 m of a road. In the plugin UI you can delete points by selecting them in the list and clicking the red X button. Alternatively, delete all points by clicking the button without any points being selected. It gives us a consistent and accurate starting point for planning. It’s really enough if you set 4-5 points only.
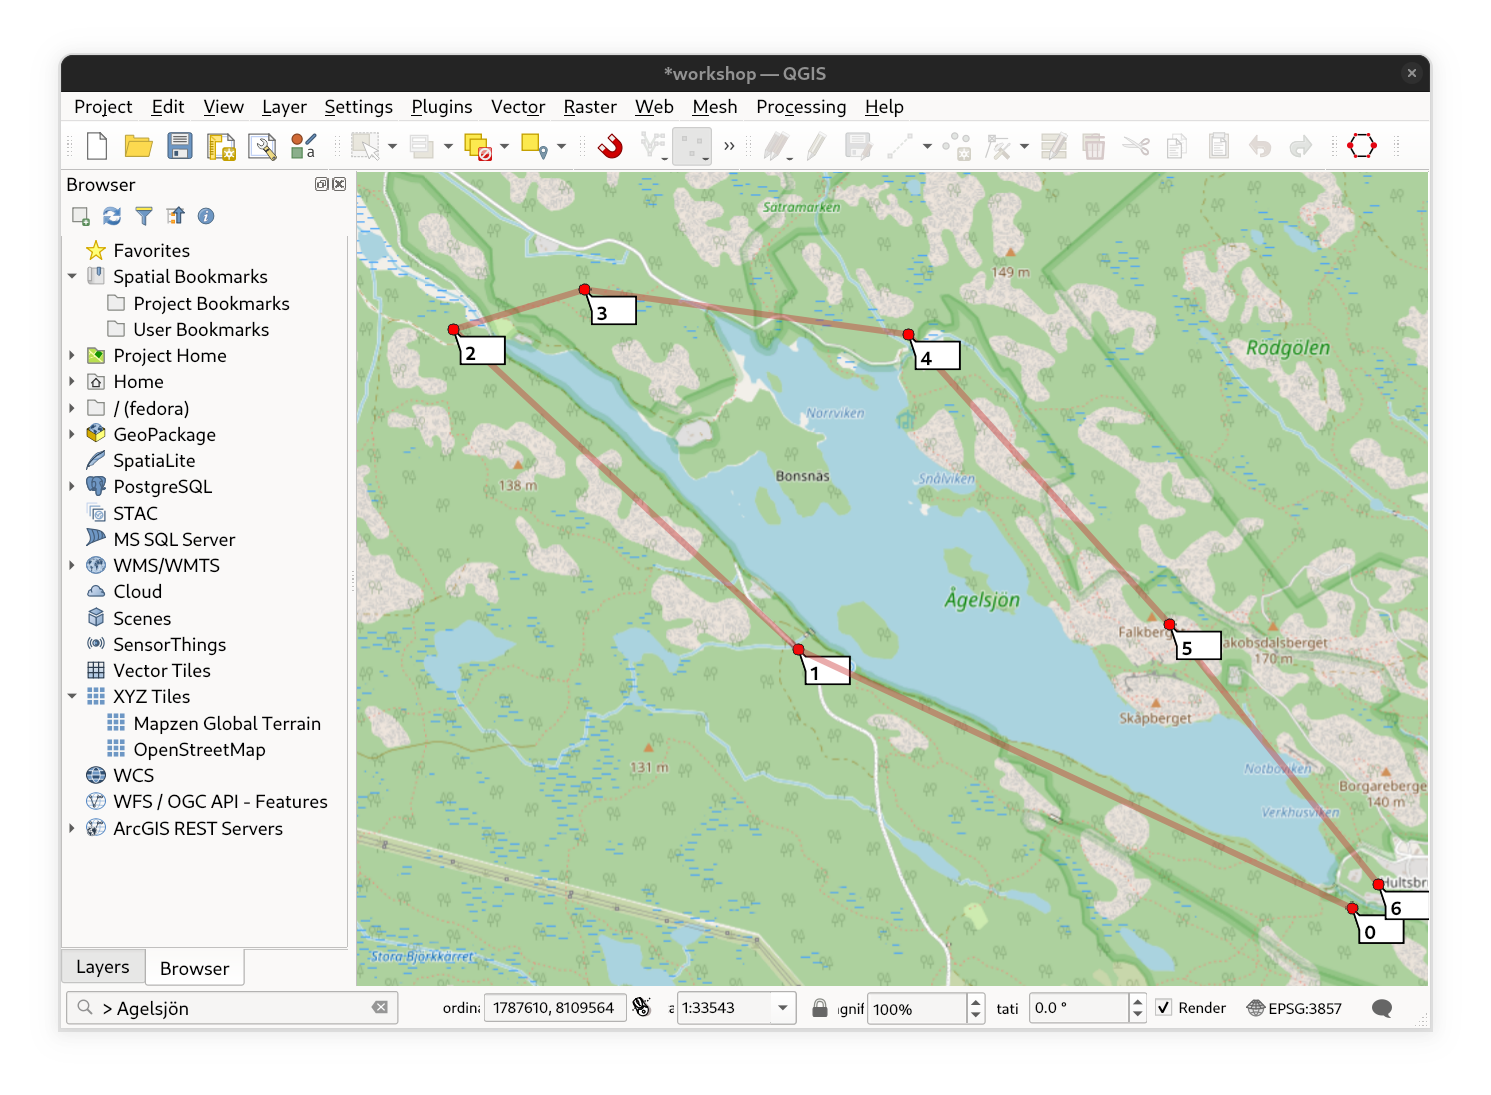
Fig. 9 Points digitization#
Choose the “foot-hiking” profile and click apply to calculate the route#
Choose the “foot-hiking” profile from the dropdown menu to ensure the route is optimized for walking on hiking trails. Then click “Apply” to calculate the route based on the waypoints you’ve digitized. ORSTools will then generate the path and display it directly on the map.
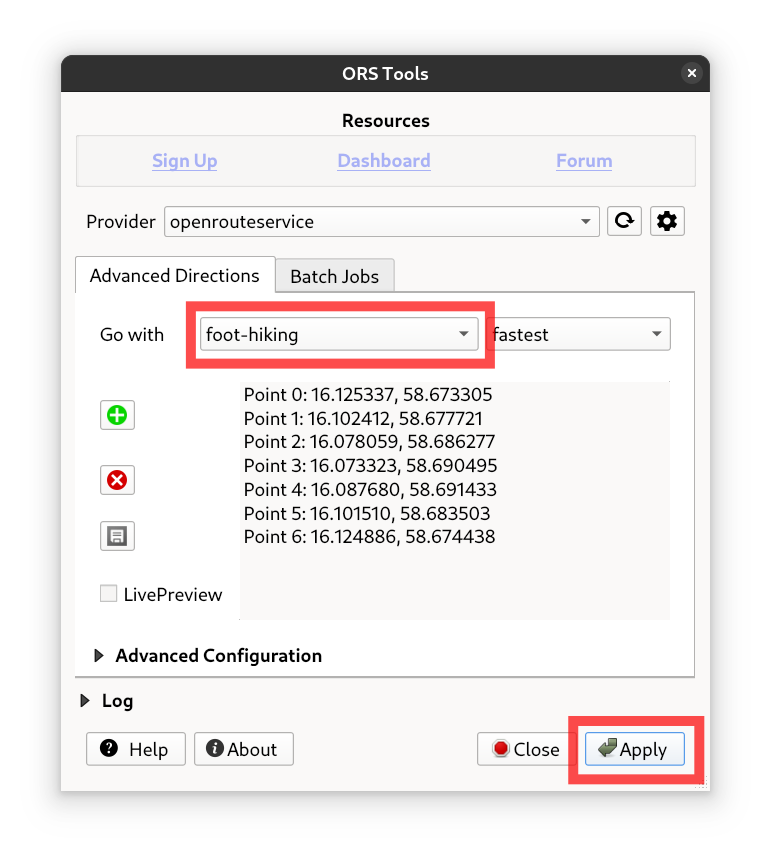
Fig. 10 Profile selection and process execution#
There you go#
Now you have a basic route laid out on the map—perfect for getting a first impression of the trail around Ågelsjön. We can now start refining it, adding waypoints, or adjusting segments to better match our preferences or avoid specific areas.
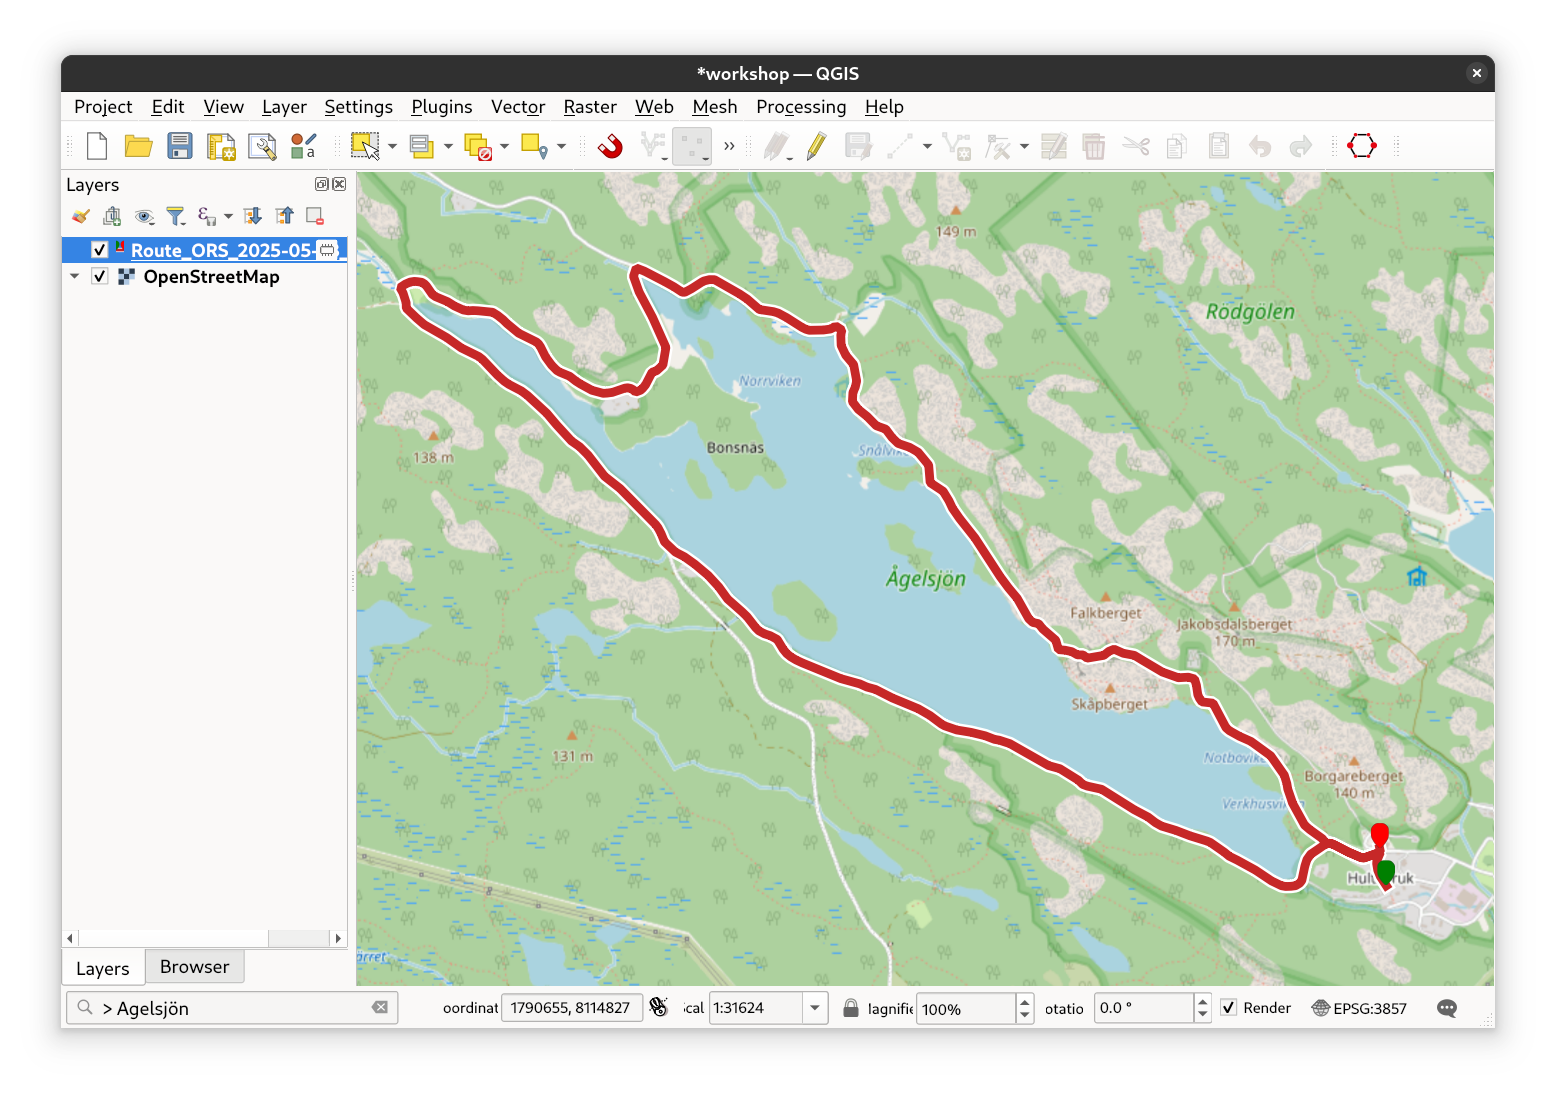
Fig. 11 Final result#